What you will make
- A hexagonal pen cup
- A phone stand with a cable hole
- A slot for cards
Step by step
The editor
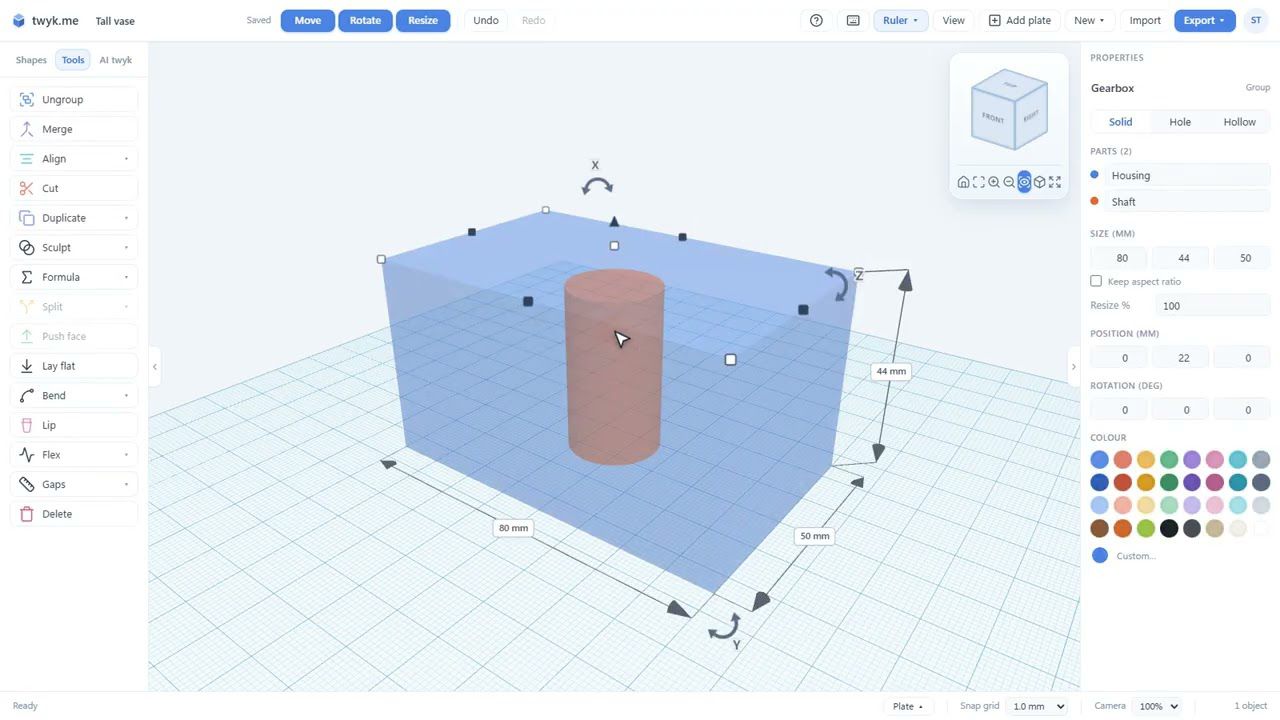
Find your way round: the shape library on the left, the plate in the middle and the properties panel on the right, where every setting of the selected shape lives.
Moving the view
Move around the model so you can check every side before you commit to a change.
Plate and snap grid
The plate is your print bed and the snap grid keeps everything lined up. Snapping runs from 0.1 mm to 10 mm, so you can work coarse or fine.
The first shape
Drop the first shape onto the plate. Every shape you add keeps settings you can change later.
Moving, resizing, turning
Drag, nudge and use the Move, Rotate and Resize switches, or type exact sizes in the properties panel. Naming parts keeps a bigger model easy to follow.
Sides and bevel
Change the number of sides on a round shape to get the hexagon for the pen cup, and add a bevel to soften the edges.
Duplicate and Align
Copy a shape, then use Align to line copies up exactly, instead of nudging by eye.
Holes, Group and Merge
Switch a shape to a hole to cut the cable gap and the card slot. Group keeps parts together; Merge fuses them into one solid.
The ruler
Measure sizes, gaps and margins on the model itself, so the phone and the cards actually fit.
Ready to print
Export a 3MF or STL for your slicer. Files are always in millimetres.
What you will learn
- Finding your way round the editor
- The plate and snap grid
- Sizing exactly in the properties panel
- Move, Rotate and Resize
- Sides, bevels, duplicate and Align
- Holes, Group vs Merge, and the ruler
- Exporting 3MF or STL for your slicer
Want the written version? The help guide covers each tool in detail: Your first model · A pen pot step by step · Holes · Align · The ruler · Importing and exporting.
Ready to build it?
twyk is free and runs in your browser. Sign in with Google, open the editor and follow along.
Frequently asked questions
Do I need any 3D modelling experience?
No. This is the first video in the series and starts from an empty plate. If you have used Tinkercad you will feel at home, because twyk also builds from solid shapes and holes.
How long does the desk caddy take to make?
The video runs about six and a half minutes. Most people pause and follow along, so allow longer for a first build.
What is the difference between Group and Merge?
Group keeps parts together so you can move them as one, while Merge fuses them into a single solid. The video shows when to use each.
Which file should I export for printing?
Export a 3MF if you want separate, named, coloured parts, or an STL for any slicer. Both are in millimetres.