What you will make
- A hollow planter with a drain hole
- A print-in-place part with checked gaps
- A flexi ring tested before printing
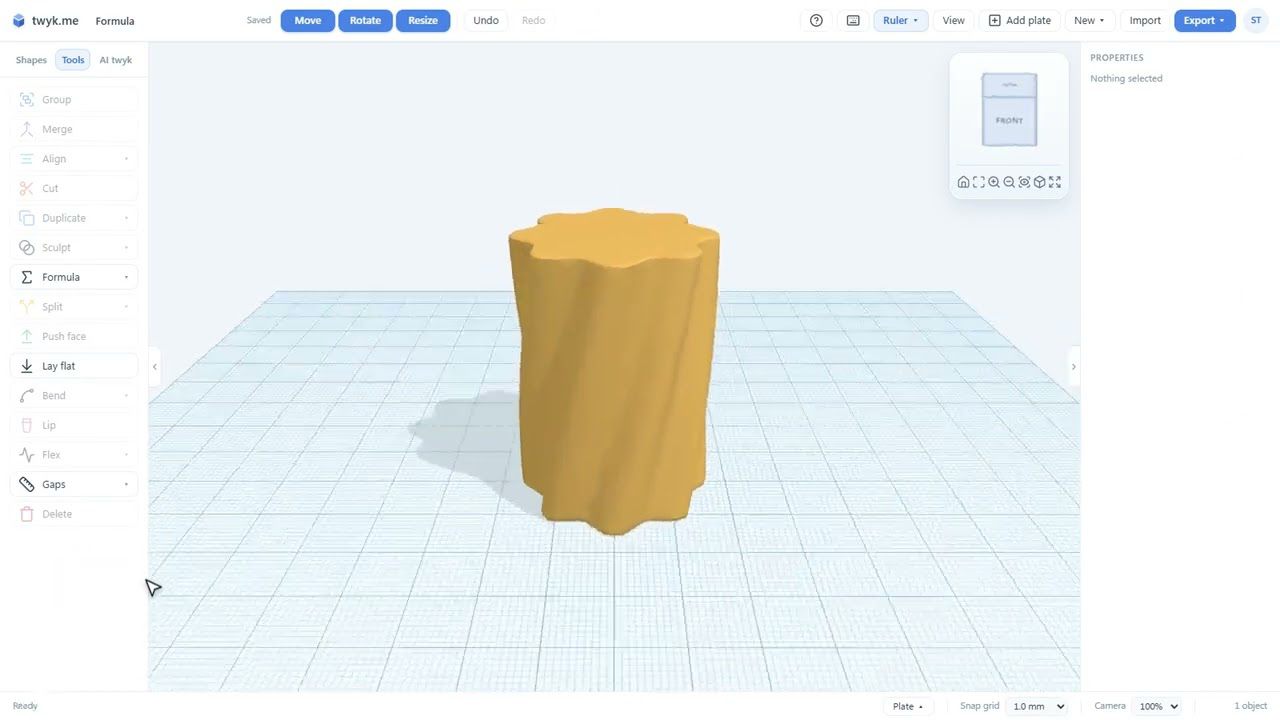
- A sculpted figure and a twisted vase
Step by step
Hollow and drain holes
Make a planter hollow with a drain hole. Hollow shows a live preview before you apply it.
Lip: a rim
Roll a rim around the opening with Lip, for a planter that looks finished.
Lay flat
Let Lay flat choose the best face to put down on the plate.
Cut, and X-ray
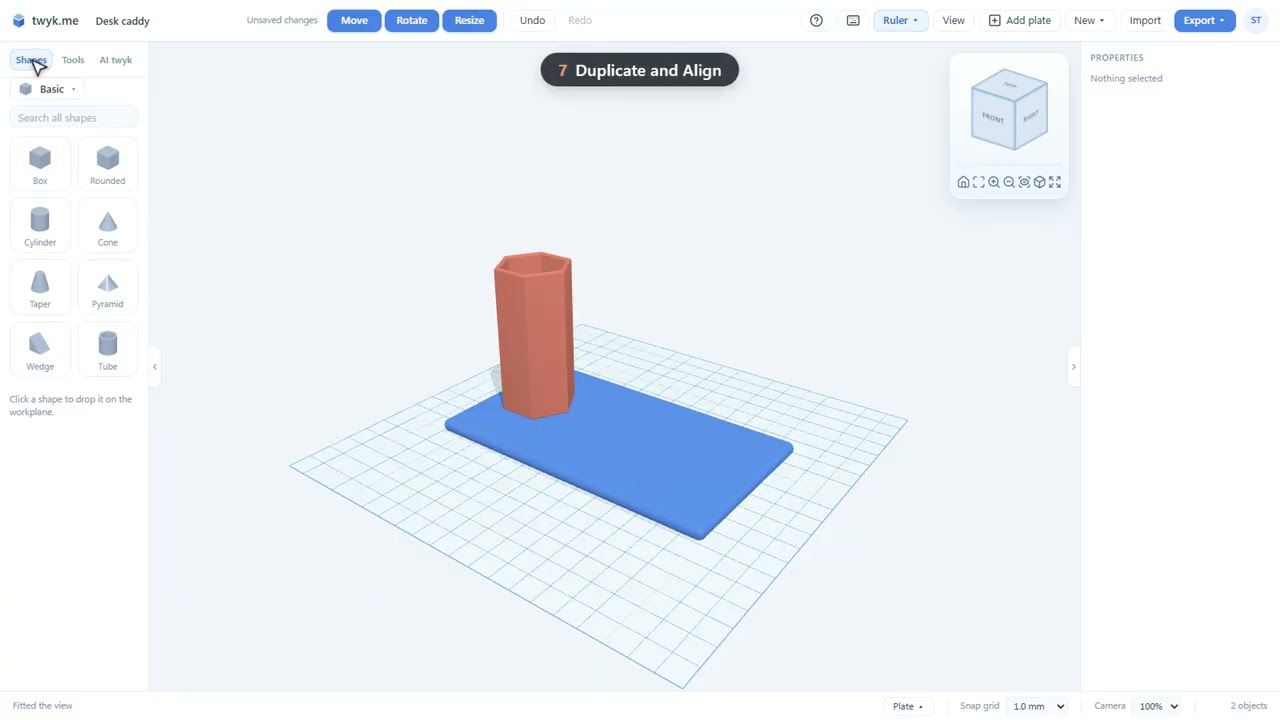
Cut a part that is too tall for your printer into pieces, and use X-ray to see inside and edit hidden parts.
Gaps: print-in-place
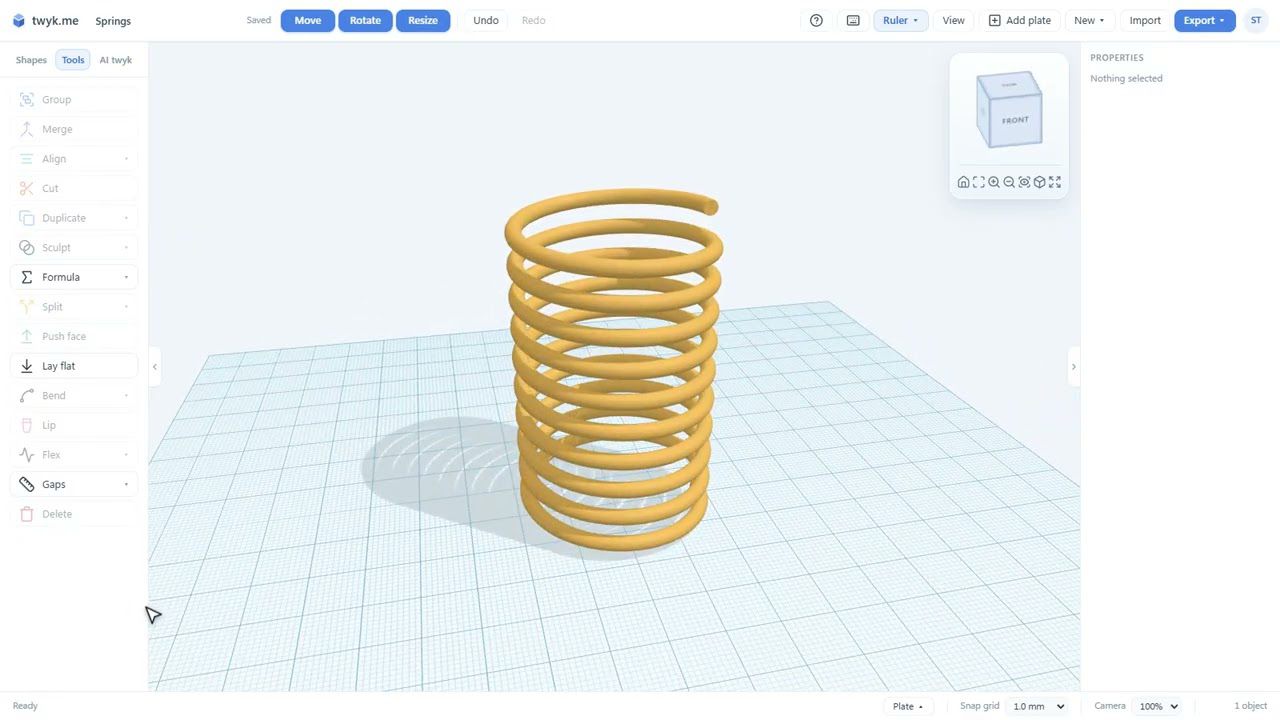
Check that moving parts have enough clearance. Gaps finds parts that touch or sit too close to print apart.
Repeat in a ring, and Flex
Repeat a link around a ring, then run the flex test to see whether the ring springs back, stays bent or snaps in PLA, PETG or TPU.
Sculpt
Melt and smooth shapes together like clay to make an organic figure.
Bend: twist, bend, taper
Twist, bend or taper a shape, here turning a plain vase into a twisted one.
Before you print
A checklist to run on every model before you send it to the printer.
What you will learn
- Hollowing a model with a drain hole
- Rims with Lip, and choosing a face down with Lay flat
- Cutting a model that is too tall, and seeing inside with X-ray
- Checking print-in-place gaps
- Testing a flexi ring before you print it
- Sculpting and Bend
- A checklist to run before every print
Want the written version? The help guide covers each tool in detail: Hollow · Lip · Cut for printing · Gaps · Flex · A flexi ring step by step · Bend.
Ready to build it?
twyk is free and runs in your browser. Sign in with Google, open the editor and follow along.
Frequently asked questions
What does the flex test do?
It checks whether a flexible part springs back, stays bent or snaps, in PLA, PETG or TPU, so you find out before you print.
What is a print-in-place design?
A design with moving parts that prints already assembled. The parts need a small clearance to print apart, and the Gaps tool finds any that touch or sit too close.
Can twyk cut a model that is too big for my printer?
Yes. Cut splits a model into pieces that fit, and X-ray lets you see inside to place the cut.
Can I undo a tool I applied?
Yes. Every tool shows a live preview first, and everything can be undone. Undo goes back about 60 steps and survives a reload.